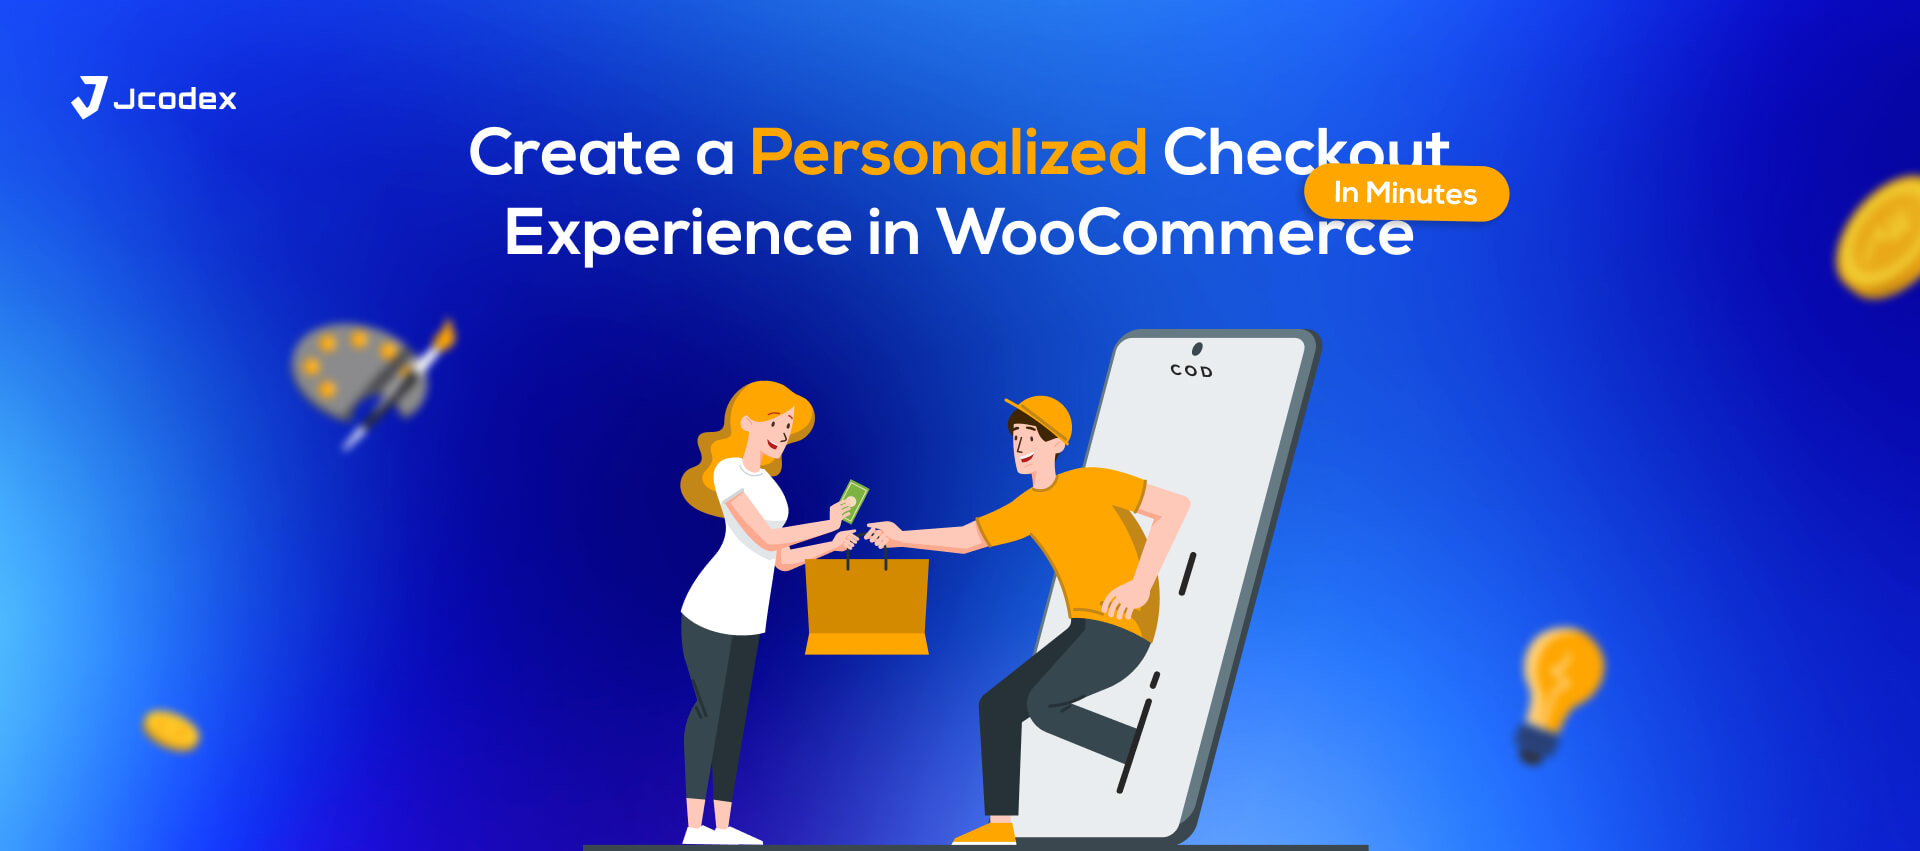
The checkout experience is one of the most critical stages in an e-commerce transaction. Even after customers add products to their cart, a clunky or impersonal checkout process can drive them away, contributing to cart abandonment. For WooCommerce-powered stores, offering a tailored, seamless checkout experience can be the key to boosting conversions and fostering customer loyalty.
This guide will walk you through the importance of personalization, show you how to optimize your checkout process in WooCommerce, and provide actionable steps to create a customized checkout in just a few minutes.
Why Personalizing Your WooCommerce Checkout Matters
A personalized checkout experience isn’t just about aesthetics. It has tangible benefits for your e-commerce business. Here’s why you should invest effort in customizing your WooCommerce checkout field editor:
1. Reduced Cart Abandonment
Cart abandonment is a common issue in e-commerce. A confusing, overly complicated, or irrelevant checkout page can be enough to make users abandon their purchase. Personalization, like pre-filled details or region-specific options, simplifies this step and encourages customers to follow through.
2. Improved Customer Satisfaction
Customers appreciate businesses that make things easier for them. Allowing them to save details, customize their checkout preferences, or interact with user-friendly layouts leads to a more pleasant experience.
3. Higher Conversions
The fewer barriers there are between products in the cart and payment, the better. By providing a streamlined checkout process tailored to your audience, you’re likely to see a tangible lift in conversion rates.
4. Fostering Brand Loyalty
A personalized checkout process shows customers that you understand their needs. Small touches, like addressing them by name or showing relevant recommendations, can build trust and repeat business.
Now that you know the “why,” let’s jump into the “how” and get your WooCommerce checkout personalized and conversion-ready.
Getting Started with WooCommerce Checkout Personalization

Personalizing your WooCommerce checkout doesn’t mean you need to be a coding expert or spend hours tweaking code. Thanks to plugins and native features in WooCommerce, you can easily make critical changes. Here are some approaches to help you get started.
1. Use Checkout Customization Plugins
WooCommerce supports a variety of plugins specifically designed to extend customization capabilities. Here are a few highly effective ones:
- WooCommerce Checkout Manager: This plugin lets you effortlessly add, edit, and remove fields in your checkout form. Create custom fields like gift messages or special delivery instructions.
- Direct Checkout for WooCommerce: Simplify your checkout process by skipping unnecessary steps and enabling a one-page checkout format.
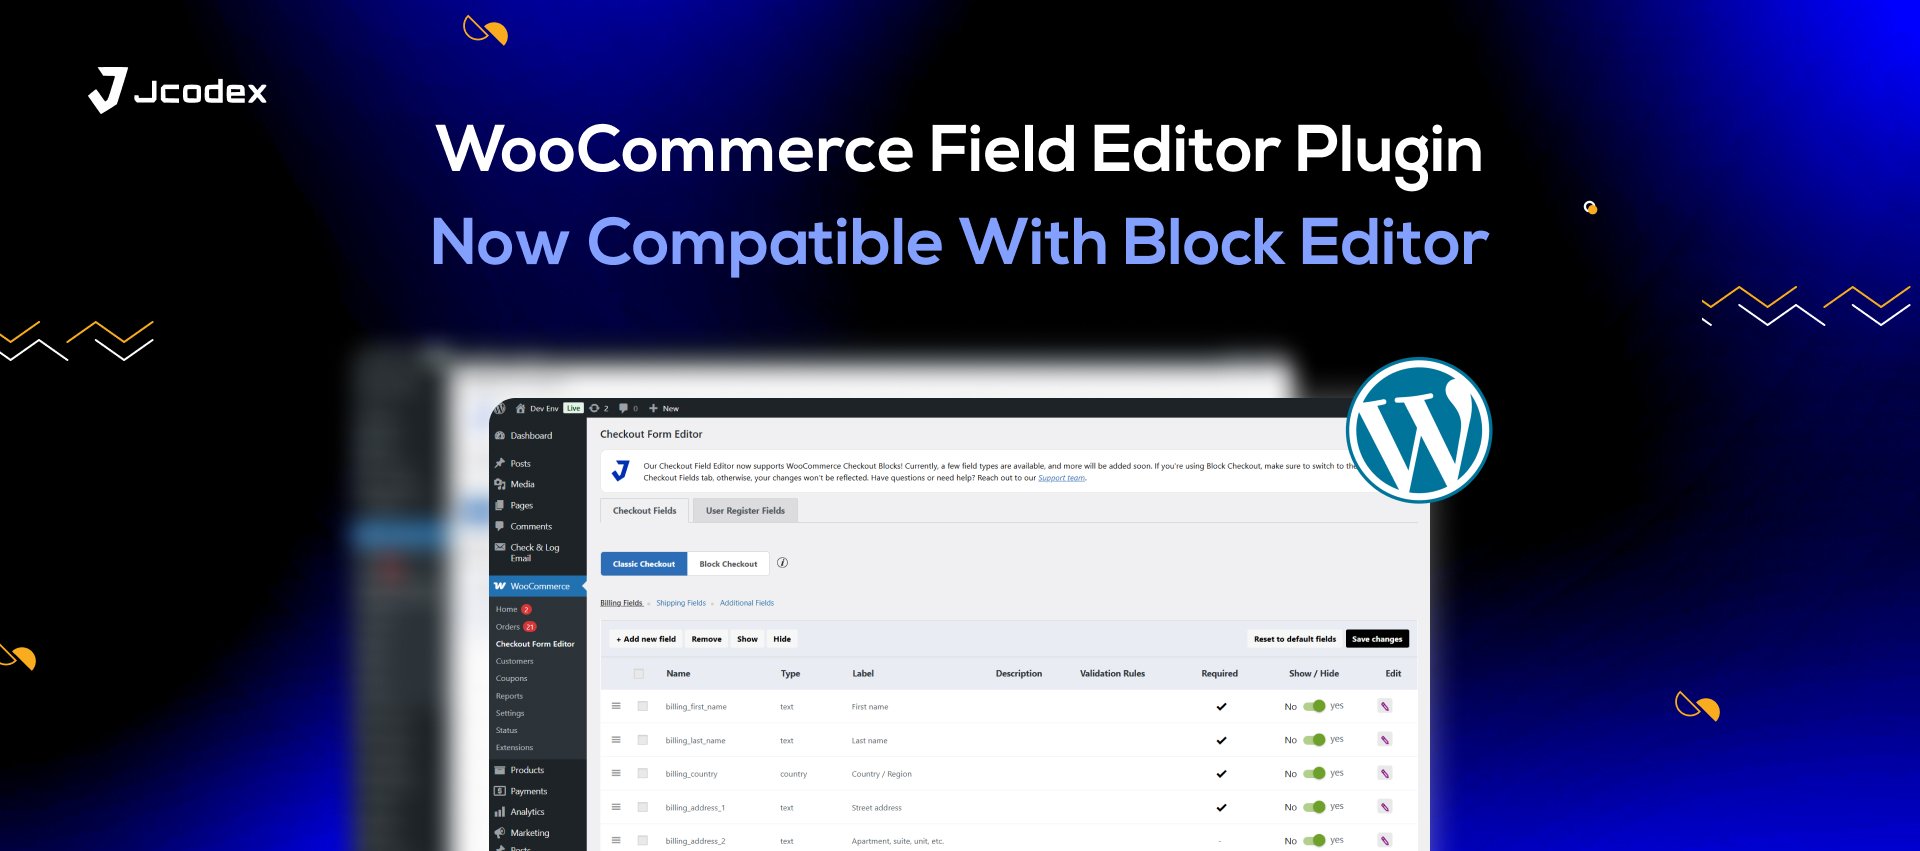
- Checkout Field Editor and Manager: Want full control of your checkout fields? This plugin allows you to customize labels, rearrange the field order, or hide unnecessary fields.
Steps to Install a Plugin:
- Go to your WordPress dashboard and click on Plugins > Add New.
- Search for the desired plugin using the search bar.
- Click Install Now and then Activate.
- Follow the plugin’s specific settings to configure your checkout preferences
2. Add Custom Fields
Custom fields can play a pivotal role in personalization. These fields allow you to gather specific customer details that go beyond the standard information. With WooCommerce or plugins like Checkout Field Editor, you can easily add fields such as
- Gift-wrapping preferences
- Delivery date and time
- Custom messages or notes for the seller
How to Add Custom Fields via WooCommerce:
- Navigate to WooCommerce > Settings > Advanced > Checkout.
- Select the editing option for checkout fields.
- Use provided tools or plugins to insert specific custom fields.
- Test your checkout page to ensure everything works seamlessly.
3. Enable Guest Checkout and Account Customization
Some shoppers prefer to check out without creating an account, while others appreciate the convenience of saved details. Strike the right balance by:
- Enabling Guest Checkout in WooCommerce settings.
- Offering easy account creation options during checkout.
- Adding social login functionality through plugins like Nextend Social Login to simplify the process.
Why This Works:
By catering to guest users and returning customers alike, you reduce friction and prevent potential drop-offs.
4. Optimize Checkout Design for User Experience
The design of your checkout page can make or break the process. Ensure that your checkout is mobile-friendly, fast-loading, and easy to understand by following these tips:
- Remove unnecessary distractions like banners or ads.
- Highlight critical information (e.g., total price, shipping details) clearly.
- Use a clean, minimalistic design to keep users on the path to purchase.
- Choose a simple color scheme with high contrast for readability.
Plugins like WooCommerce Blocks help you modify the layout and design of your checkout page for an optimized look.
5. Localize the Checkout Experience
Catering to an international audience? Personalize your checkout page by:
- Adding currency conversion features (via WooCommerce MultiCurrency).
- Offering localized payment options (e.g., PayPal, Stripe, local bank transfers).
- Providing multi-language support using plugins like WPML.
Tailoring these elements to your target audience can build trust and encourage purchases.
Additional Tips for Checkout Personalization
Here are a few quick-win strategies to make your WooCommerce checkout process even better:
- Auto-Fill Features: Help customers save time by pre-filling known details during their next visit.
- Express Payment Options: Offer payment methods like Apple Pay, Google Pay, or Buy Now Pay Later solutions for faster transactions.
- Progress Indicators: Show customers where they are in the checkout process with a clear progress bar.
- Post-Purchase Personalization: After checkout, display a thank-you message or personalized product recommendations. Plugins like YITH WooCommerce Thank You Page make this easy.
Wrapping Up
Personalizing your WooCommerce checkout experience doesn’t require hours of coding or costly customizations. With plugins, thoughtful tweaks, and user-first design, you can create an experience that meets the specific needs of your customers while driving more conversions.
Start small by optimizing the essentials—such as adding relevant custom fields or streamlining your page’s layout. Once you’ve nailed the basics, layer deeper personalization features, such as localization and express checkout options.
By implementing these steps, you’ll not only reduce cart abandonment but also establish trust with your customers, making your WooCommerce store the go-to option in their e-commerce experience. Take just a few minutes today to customize your checkout, and watch the results roll in!